Install PxPlus
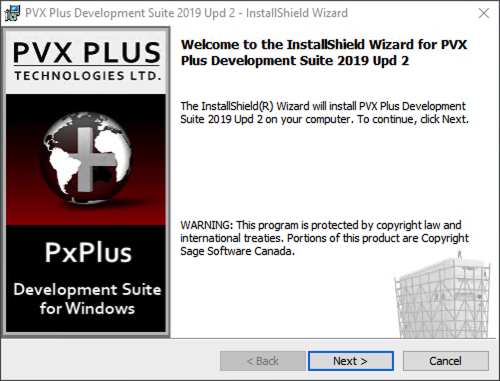
Download the latest version of PxPlus from: http://pvxplus.com If you downloaded the Zip file, unzip it. Run the EXE program to get the installation panel below. Press the Next button.
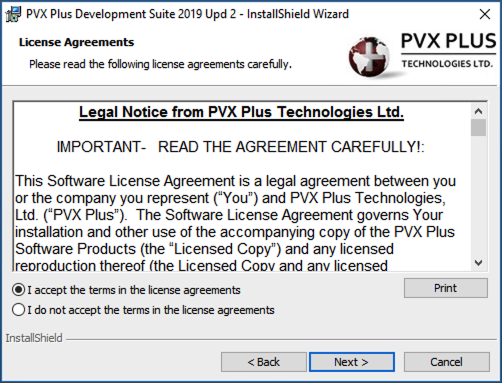
Press Next to get to the License agreements panel below. Check the “I accept ..” box and press Next to get to the Customer Information.
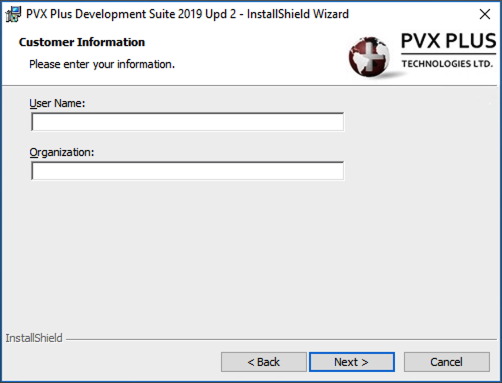
Enter your name and Organization. Press Next to continue to the Destination panel.
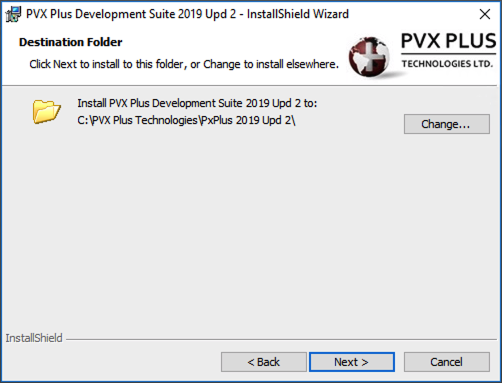
We typically install at the same level as MAS90. You can press the Change button to change the destination, then press Next button. If you did not change the destination, skip the next two panels.
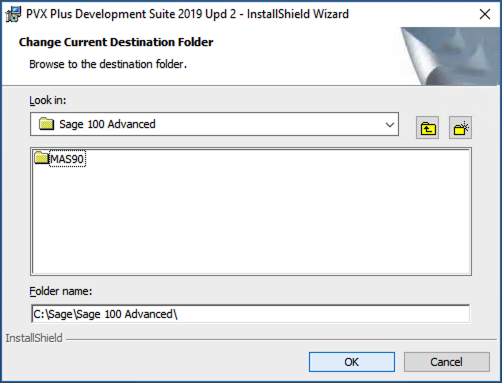
If you are changing the destination directory, you are presented with the panel below. Navigate to the desired folder and press Ok.
You are again presented with the Destination Folder panel. Confirm the destination and press Next.

At this point you are ready to start the installation. Press the “Anyone who uses the computer (all users)” button to start the installation.
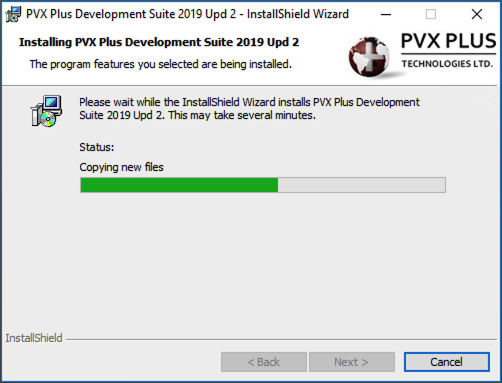
PxPlus is installing.
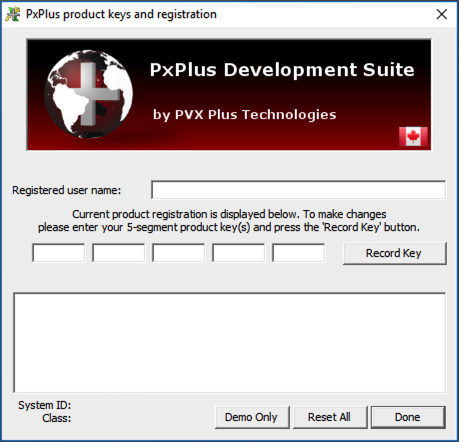
During the installation, PxPlus will ask for your Product Keys. There are two 5 segment keys to enter. Enter the first key and press Record Key, then enter the second key and press Record Key again. Press Done.
There is one more step to register PxPlus. From the Start button, execute the PxPlus Command Line. The program will launch, and prompt you to register online. Press Yes, then confirm your selection on the next prompt. On completion, you will be asked to exit the software.
Optionally, you can clean up the desktop by removing the two new PxPlus icons.